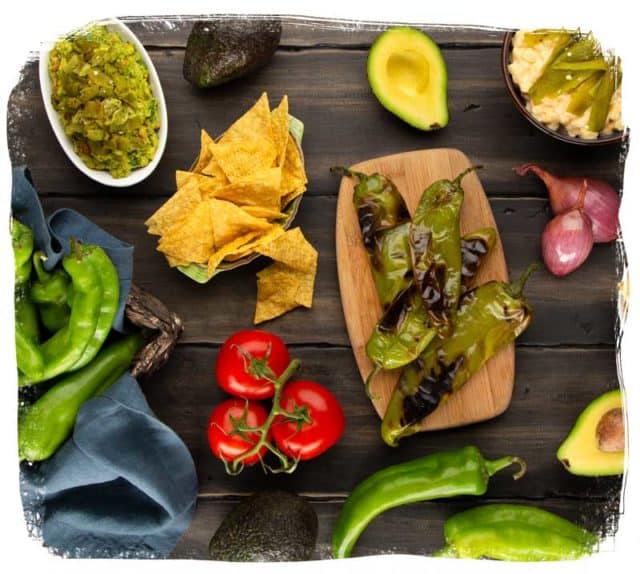
 Hatch ’em while you can!
The tapered green chiles known as Hatch chiles are exclusively grown in the farmlands of Hatch, New Mexico. In season from late summer to early fall, Hatch chiles are beloved by fans due to their robust and spicy flavor. Because only chiles of this variety, grown in the Hatch region of New Mexico, can be called Hatch, there is another name for the same type of chile. Anaheim chiles are attributed to farmer Emilio Ortega who brought the seeds from New Mexico to Anaheim, California in 1894. The only difference is in the heat of the chiles, as the Anaheim is much milder than the Hatch chile.
Perfect pickin’
When it comes to picking the perfect Hatch chiles, keep your eyes peeled for firm, smooth peppers with no blemishes, soft spots or wrinkles. Once picked, wrap unwashed Hatch chiles in a paper towel, place in a sealed container and refrigerate. They should keep for up to 14 days.
How hot are Hatch chiles?
Capsaicin is the chemical compound that gives all peppers their heat. Quantifying this is the Scoville heat unit scale, or SHU. A little bit of a wild card, Hatch chiles range from 1,000–8,000 SHU. What does this mean? For comparison, here are some peppers with their SHU heat range:
- Green peppers 0 SHU
- Anaheim peppers 500-1,000 SHU
- Jalapeños 2,500-8,000 SHU
- Habaneros 100,000-350,000 SHU
How to roast Hatch chiles at home
While you can certainly eat Hatch chiles raw, they are best when roasted. Roasting the chiles mellows out the pepper’s potential fiery heat and lends to the distinctive, rich flavor of the chile. Additionally, the skins are tougher than other peppers. Properly roasting them makes removing the tough skins easier. Roasting Hatch chiles at home is easy—all you need to do is char the skin of the pepper. You can do this on a grill, in your broiler, or even with a pair of tongs over a gas flame on your stove. Our preferred method is via the oven.
Here’s how it’s done:
- Set the oven on broil and the whole process should take 10–12 minutes.
- Turn the peppers as the tops blister and char until they’re done on all sides, then remove.
- Immediately seal them in a resealable bag or foil and allow to cool. Cooling in the bag/foil will make the charred outer skin pull away from the pepper, making them a breeze to peel.
- When they are cool, remove them from the bag and use your fingers to gently peel the dark, blistered skin off, under cool running water.
- Slice down the length of the pepper and remove the top and seeds.
Tip: Stock up! Roasted Hatch chiles freeze beautifully, so you can enjoy their fresh Southwestern flavor long after their window of availability has closed.
Fire up the kitchen with these bold recipes!
 Hatch ’em while you can!


 VIEW ALL


